Showing posts with label trim shop. Show all posts

2012-03-08

How to Trim a Coffin WNBull Style - The Lid & Thumbscrews

    If you followed the steps in this previous post about trimming a coffin or the coffin has come pre-trimmed then you are ready for the next part.  The lid.  Mist funerals at W.N.Bull are traditional Catholic, and as such this method will focus on a Catholic coffin.  The only real differences between Catholic and "non-Catholic" is the thumbscrews and use of a cross or crucifix.  Catholic (and some other religions) use cross shaped thumbscrew and scutcheons while the others will use a simple fan shaped thumbscrew.

    So here is how to put on a Catholic coffin lid, remember, the only difference between Catholic and anything else is the use of crucifixes or crosses or a non-religious design in certain areas.

1. Place the lid back on the coffin and grab the following tools:
- 1x Hammer.
- 2x Pokers.
- 6x Thumbscrews.
- 6x Scutcheons (the flat part that sits over the hole on the lid of the coffin).
- 12x Nails (small).


2. Poke the 'pokers' through each hole in the lid.  This makes it easier to get the thumbscrew through the lining later.  Next poke each 'poker' through an opposite hole on either end of the coffin.  This will keep the lid alined correctly with the body of the coffin.


3. Start at the two holes next to the pokers, again diagonally opposite each other at each end of the coffin.  Place the scutcheons over these holes, then screw the thumbscrew in.  Continue on to each hole until all six thumbscrews are screwed tightly in place.

<> Make sure to leave the thumbscrew sideways so the 'arms' do not sit over the holes in the scutcheon for the nails.

Scutcheon in place and thumbscrew about to be tightened
Thumbscrew tightened all the way.


All thumbscrews in place and ready for the next part.

4. Land the helicopters.  This is the process of nailing down each scutcheon with the little nails.  Un-nailed scutcheons are called 'helicopters' as they will spin like the blades of a helicopter when the thumbscrew is unscrewed later.  So land those helicopters!

5. Usually the next step would be to put on the handles.  But if the coffin is already sold and you have a nameplate then attach it now.  The nameplate should sit level with the shoulders of the coffin or where the shoulders of the deceased would be.  If a cross or crucifix is to be added do this now as well.  Simply attach some blue-tack to the back of the cross/crucifix to help hold it down.  Then place it in the middle of the coffin so the top is level with the top of the thumbscrews.  Nail it down through the rin on the top of the cross/crucifix with one little nail.

That is it!!  It is the easiest part of preparing the coffin.

Continue here for how to attach the handles.

Or go here for the previous part on trimming the inside of a coffin.

~~

2012-03-05

How to Trim a Coffin WNBull Style - The Inside Lining

    There is a lot of emphasis at WNBull about doing things "the Bulls' way".  Often for good reason as these methods are tried and true for the funeral industry.  Some are focused on differentiating WNBull from other funeral homes.  And the rest are just silly little things that have built up in a company that is 120 years old.  I have noticed that everything at WNBull is taught via word of mouth.  There is no written procedure for anything not directly related to OH&S that was introduced by InvoCare.  How to do a transfer, how to trim a coffin, how to work a funeral and so on.  None of that is written anywhere and as such is liable to die out as people leave.  Over 100 years of tradition and knowledge is slowly leaving the company.  As such I thought I should write some of it down for everyone to learn.

    One main thing every undertaker at WNBull must know is how to trim a coffin, by their standard. Once you know the basics of trimming a coffin there is little variation.  Small details differentiate companies or individuals, but really the main foundations are all the same.  So here is how to trim a coffin, WNBull style, with pictures:

You can go here for preparing the lid, including the thumbscrews.

Or go here for how to attach the handles.

1. Select the correct coffin and know the type.  There are many to pick from, most are the same but some have small variations.  I will discuss most of these variations at the end.  Coffins come as just a box, no handles, no thumbscrews, no trim/lining inside.  So you will need to put it together before it is sold or used.


2. Lay the coffin on the horses.


3. Using a drill unscrew the two to four screws holding the lid on.  Inside you should find three items:
- 1x Plastic Pillow.
- 1x Plastic lining.
- 1x Upper lining & Lower.


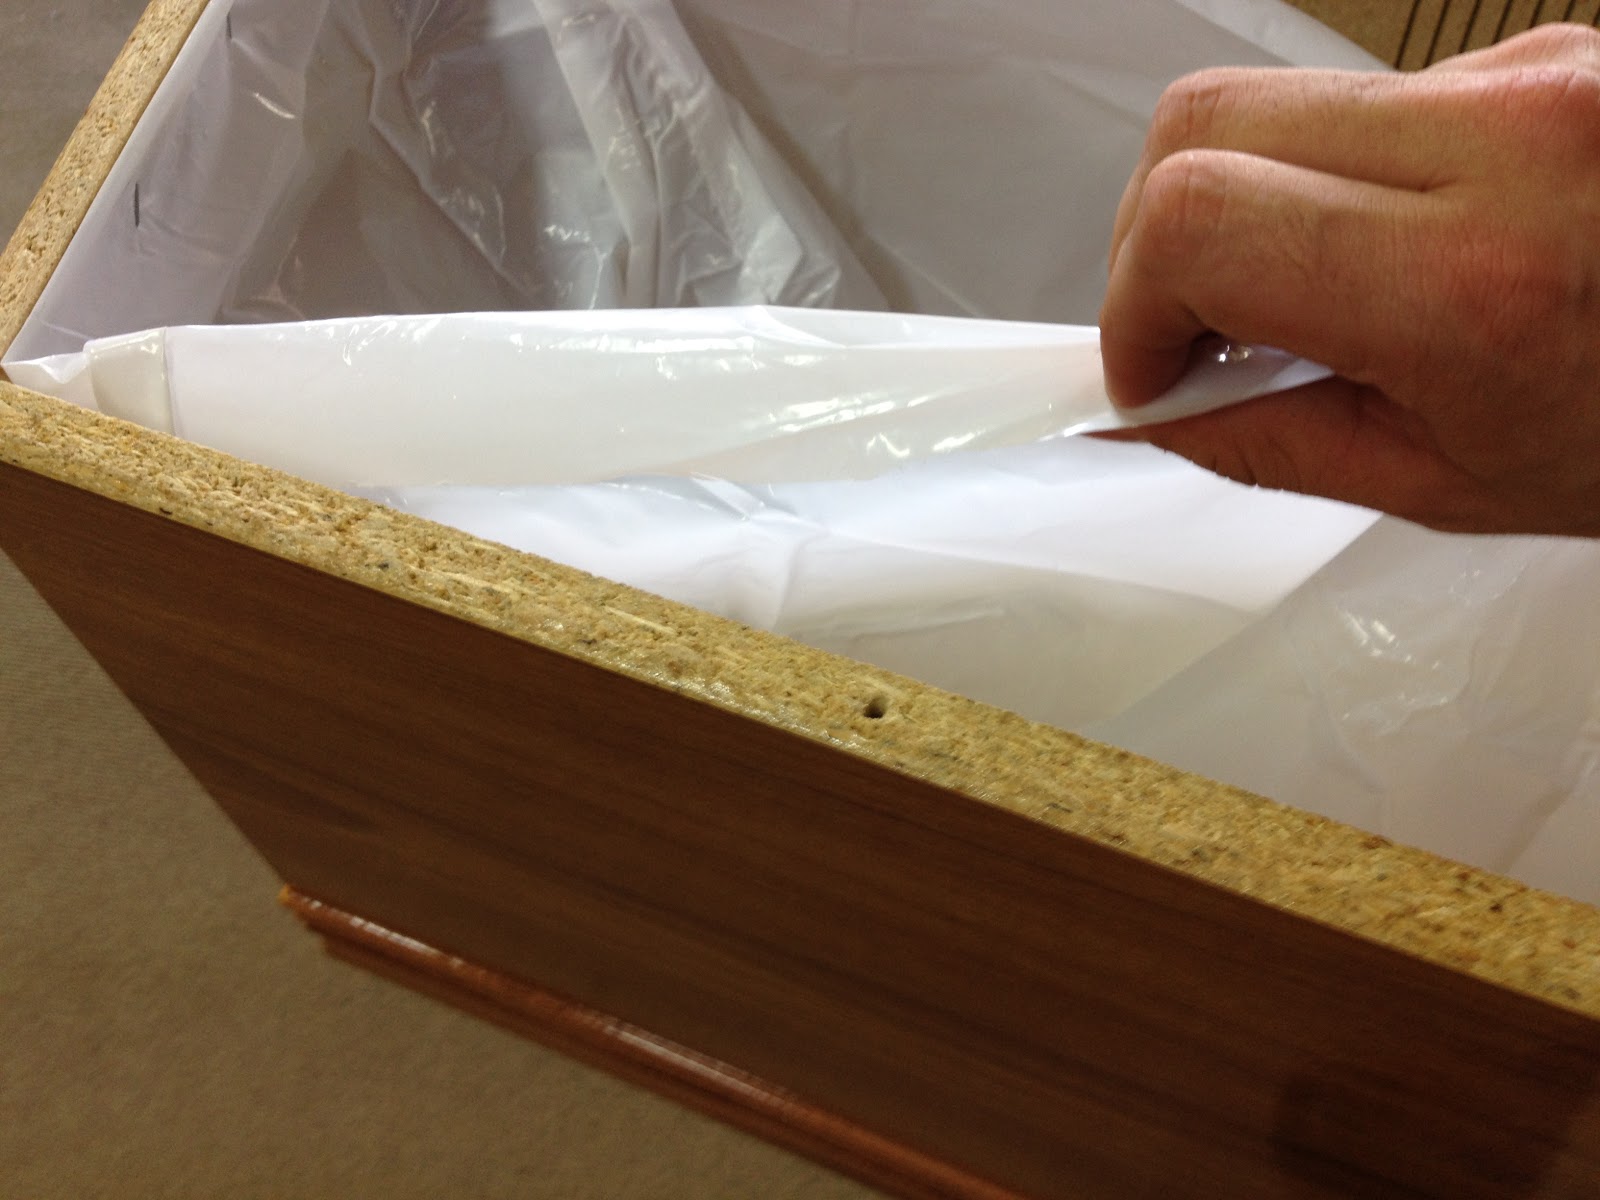
4. Start by taking everything out and placing it on the floor.  Next open the plastic lining and place it along the inside of the coffin.  It has a head end indicated by extra seams on the lining where it would sit in the 'shoulder' (the part that is bowed out) of the coffin.  If you get the lining the wrong way around it will rip later.

5. Find the middle of the lining at the head end and staple it to the inner side of the coffin.  Then staple outwards along the head of the coffin to the corners.

<> When stapling make sure the staples are diagonal, vertical or especially horizontal do not hold strongly.

<> A good idea is to turn over the liner by about an inch long the top, this will give it more stability and make sure it stays in place.


6. Place a staple into the corner of the coffin to keep the lining tightly in place.  Staple along the one side to the foot end.  Then staple along the other side to the foot end.


7. Fold the excess lining underneath itself at the foot end.  This is called a 'pleat'.


8. That should be it for the plastic lining.  Check it against these pictures, the lining should be flush with all the corners and fairly even on both sides.  It should also be able to move about a bit.  Do not worry too much, it does not have to be perfect at this stage.


9. Time to prep the pillow. Do this by taking out any excess shredded paper and condensing it.  The pillow must not be too dense or fluffy or it will not support the deceased's head properly.  Once this is done seal the end with tape.  Next poke a hole or two in the side of the pillow to allow air in and out.


10. Now for the lining people see.  Identify the lower lining, it is larger than the upper lining.  Find the middle and staple that to the center of the head end, similar to how you stapled the pastic lining to the coffin.


11. Pleat the corners at the head end.  Do this by folding the lining over and under itself as shown in the picture on the left below.


This is how it should look, nice and symmetrical.
12. Staple along each side to the foot end.  Remembering to keep the staples diagonal.

13. Now you are at the foot end you should have some extra lining dangling about.  Grab the shortest end pleat it before stapeling the rest to the foot of the coffin.  Next, with the longer end pleat it and then pleat again on the other side, covering the ends underneath it in the middle.  It should end up similar to the lining at the head end.


14. Finally we are at the last part of the linings, the upper lining.  This strip is smaller than the lower lining and has a ruffle to it.  Just like the other linings find the middle and staple this to the center of the top on the coffin.  Then staple along the top until you get to the corners.

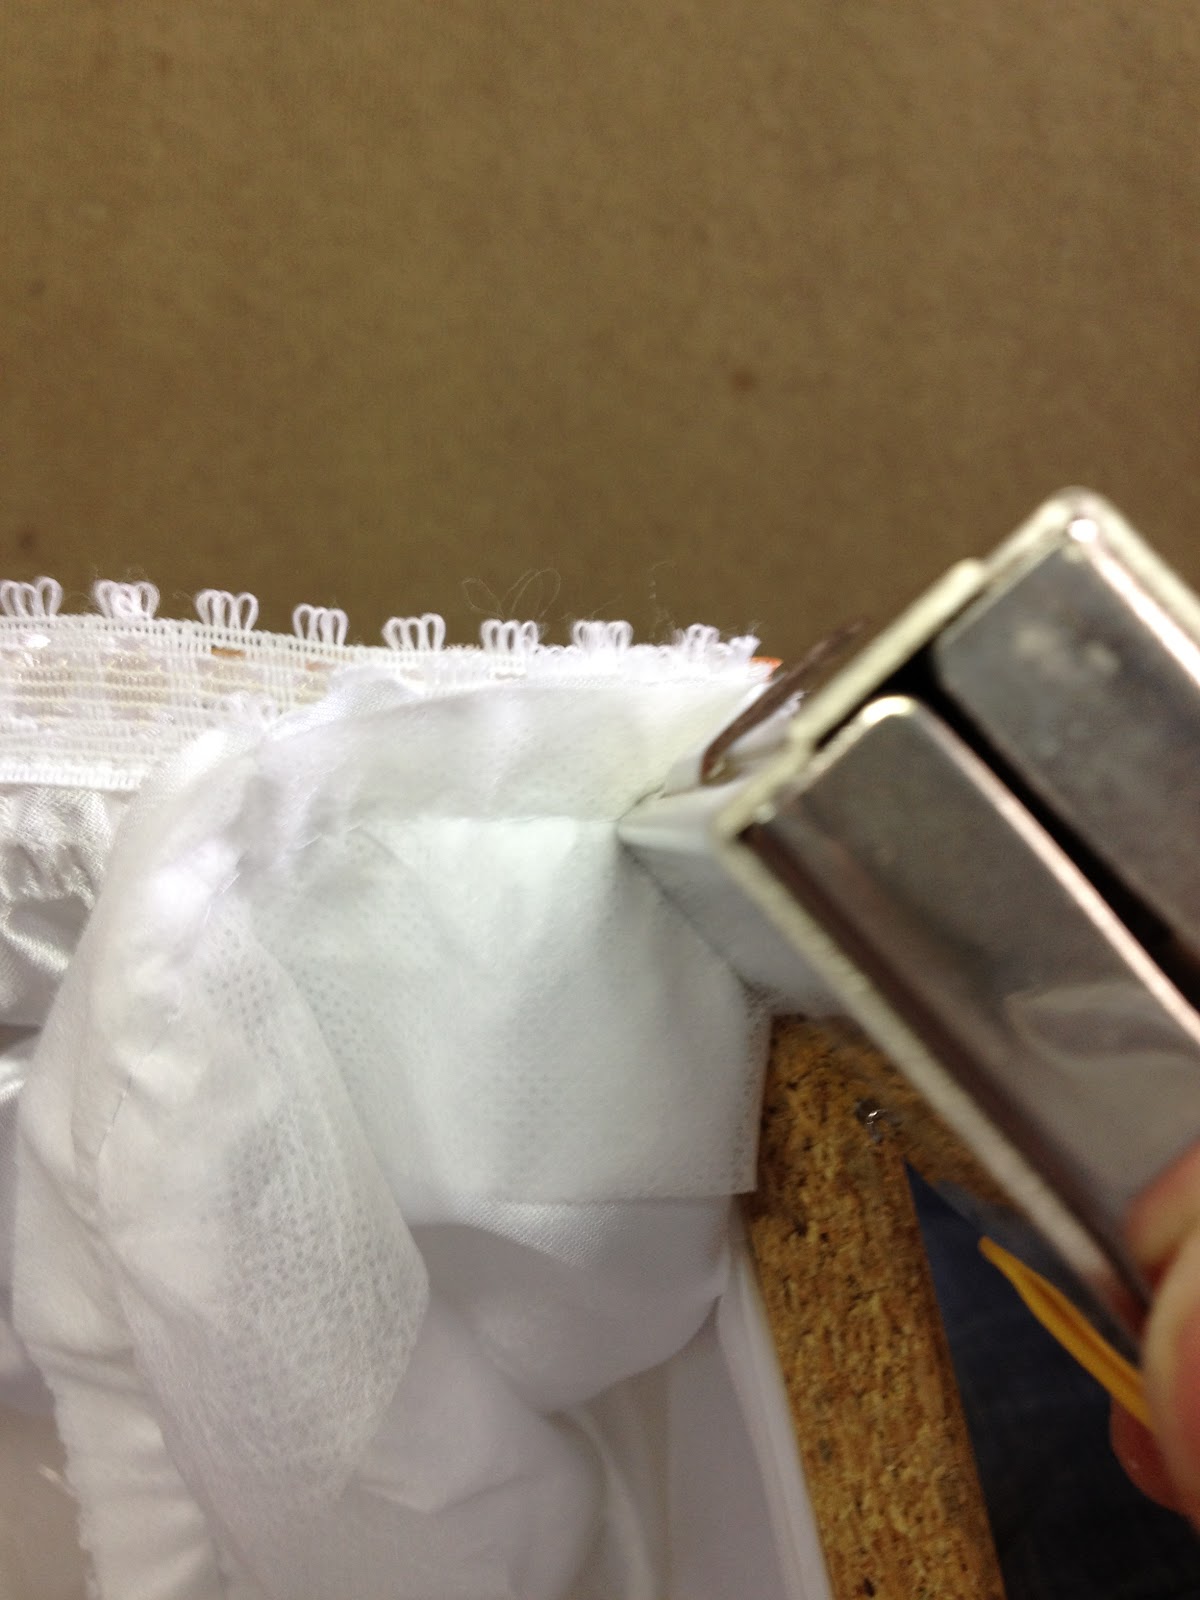
15. Now we will need to do a 'corner' on the lining, this is easy but finicky to get just right.  Take the trim and line it up over the corner, bending it back upon itself.  Then staple it on the corner, line up the staple diagonally with the corner of the coffin and staple the trim in place.

Folding the lining.
Lining up the staple.


Staple in place.
16. Staple the lining along the top of the coffin.  Put the staples under the lace, but into the cloth itself.  Some will put the staples under the cloth into a thinner material but this does not hold very well.  If you staple under the lace then the staples should not be visible.


Stapeling the lining down.

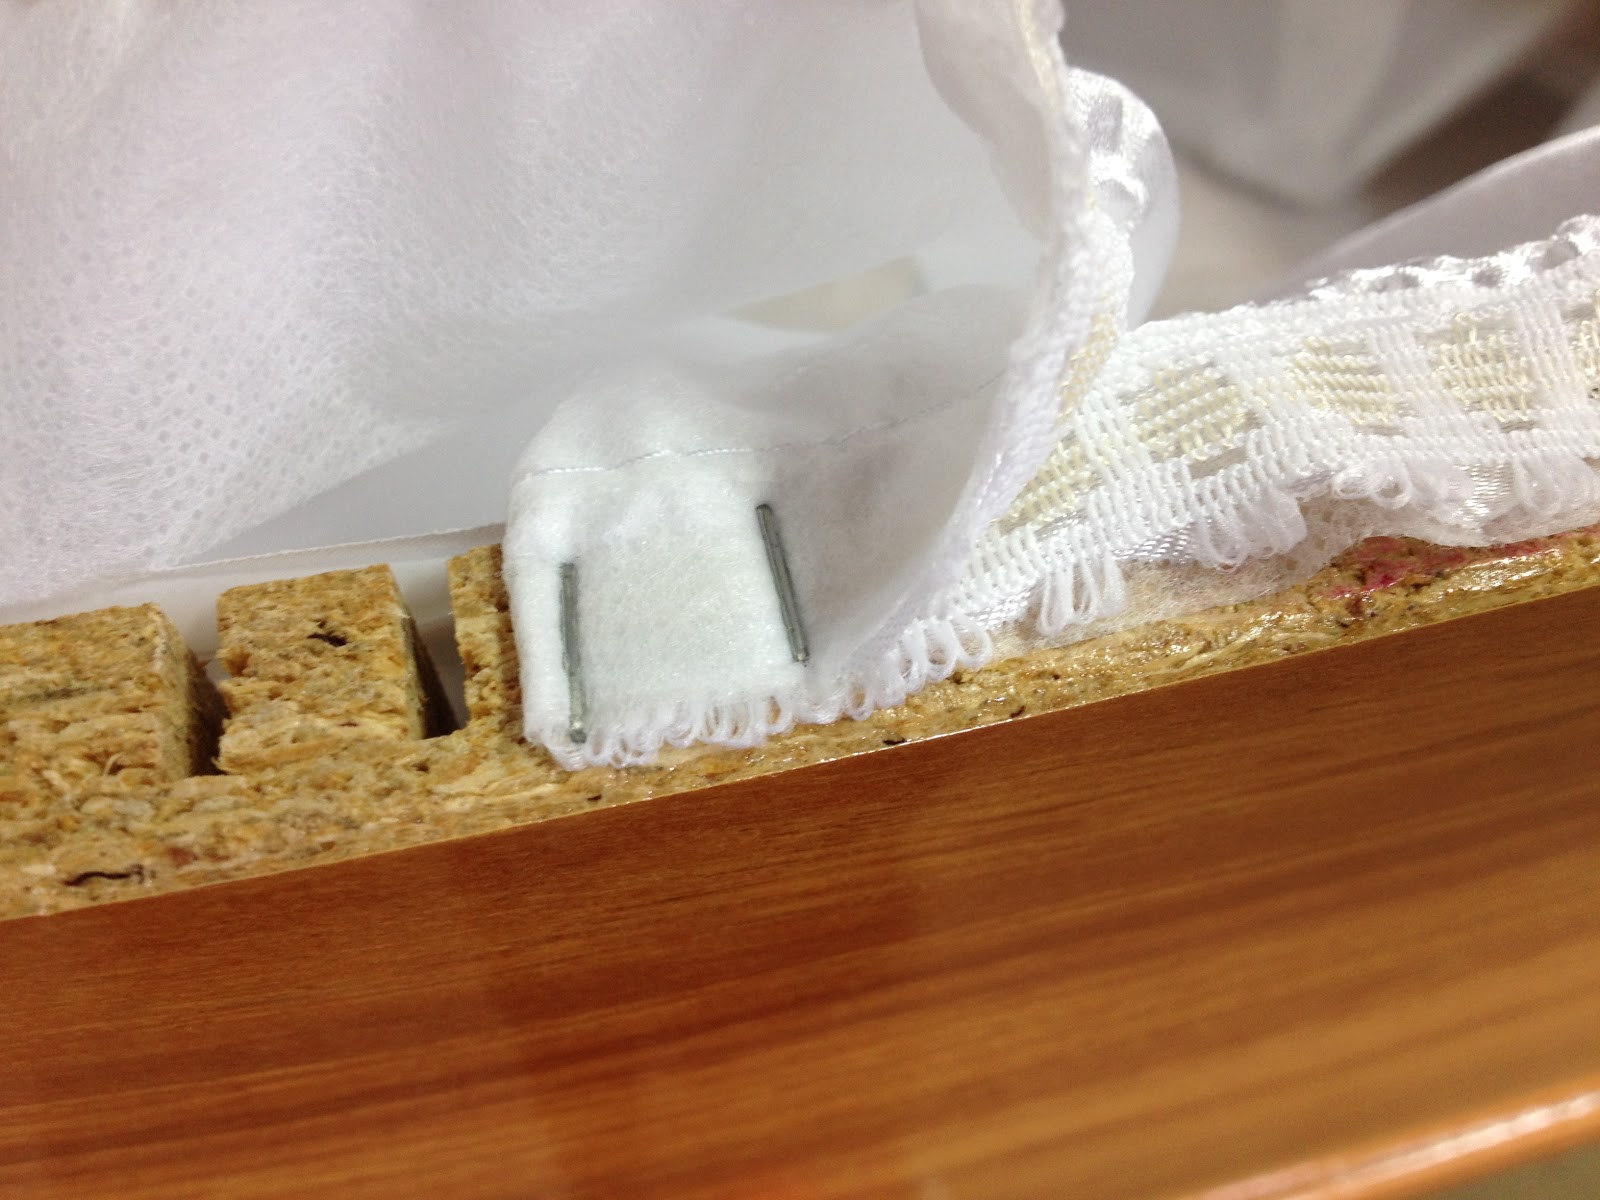
17. As you staple along you will notice the holes for the thumbscrews.  As obvious as this is do not staple across the top of these holes.  Instead place one staple diagonally on either side of the hole.  This will make the lining stay in place while you screw the thumbscrews in and make it easier to find the hole should you need to.  There are three oles on either side of the coffin.
The thumbscrew hole.
Staples on either side of the thumbscrew.
You only need one on each side.
18. When you come to the shoulders you will need to pleat again, making a total of three pleats on each side.  By now you should be accustomed to pleating, but this is a little different.  Fold the lining back in on itself, similar to 'cornering'.  Place one staple vertically on each slot, taking up two slots to do so.  This will make the pleat nice and wide but not too wide as to waste space.


19. Measure the distance between each of the three pleats and make sure it is the same on both sides.  You can use the staple gun, or count the notches.  A little trick is to start and stop at the first and last notches.

Measuring the distance.
Stopping on the last notch.


20. Continue to staple along the sides, remembering to take not of the holes for the thumbscrews and to staple under the lace but into the cloth.

21. Once at the foot end corner the lining again on both sides.  Find the shorter side and star to staple it down with one staple.


22. Fold the two sides of lining over each other, with the longer on top.  Tuck the two ends underneath the middle and staple it down.  Everyone has a different way of finishing the lining, but as long as it is symmetrical and presentable then it will be fine.

Continue here for preparing the lid, including the thumbscrews.

Or go here for how to attach the handles.

~~

2012-02-15

The W.N.Bull Garage & Trim Shop

    Our garage is an interesting one indeed.  A couple from InvoCare have said that it is the worst in the company, and one of the worst they have ever seen.  The way we need to move several cars to get to just one, the lack of space, the pot-holes, the constant puddles, the dirt and dust and the narrow lane outside that barely fits two cars at a time.  Yet we manage, we run an active and busy business out of there.  We are constantly coming and going on a daily basis.  And for all its flaws I have come to rather like it.

    The W.N.Bull garage has a rich history and an interesting atmosphere.  It was originally a stables when it was first established in 1892.  One can even see marks in the floor where the stable doors would have been.  So it is not very well designed for cars and has not been re-surfaced in a long time.  There is even a petrol pump installed in the mid 1960s.  This was to combat a shortage of fuel due to strikes.  In this industry reliable fuel and cars are extremely important.  The circuit board up in the trim shop is mostly original to the building, with many add-ons over time.

    Long worn wooden stairs lead up from the garage to the trim shop.  The stairs are original to the building and still going.  Our trim shop is where we store and prepare all our coffins and caskets.  Due to no real vents, no fans and only two average sized windows it is a hot place in summer and a cold place in winter.  An absolutely appalling place to work in summer, all the heat from the garage just rises and collects here.  But much like the garage it has a certain charm and I have grown to appreciate it.

    Here are some pictures to help give you a better idea of the 'fun' we put up with every day.  The low quality of some pictures is due to the darkness of the garage.  And they were all taken with just an iPhone.


The third door into our garage. Where we keep the little cars.
The first door into our garage. Where we keep the two transfer vehicles and one hearse.

All three doors to the garage; the closest one on the left is the first door.
From inside, this is the third door and petrol pump on the left.
Getting ready for the morning and washing our cars.
The middle spots and where we keep the trolleys for the blue coffins. The two transfer cars are just to the left, out of sight.
All our little cars and change room at the end. Moving the car in the far corner means moving the two cars on the left.

Our transfer vehicles. the Toyota Hicae van (capacity of 4) and the Holdon Commodore wagon (capacity of 1).
The circle in the floor by the pump is where they would have put the fuel in from the truck.
Our very own fuel pump! It has not worked in at least 20 years.
The sponge on the top left is there to help hold it together.
Stairs from the trim shop down into the garage.

Stairs up into the trim shop.

Stock coffins, trimmed and ready to be used.

Our circuit board. We believe the parts to the top left date back to the 1920s.
Other parts are from the 40s 70s and from more recent times.
I will probably make a post dedicated to this fire hazard another time.

A coffin on the horses to the left is sold and now being prepared. The others standing up are waiting to be sold.

Stairs are to the left, coffins to the right and the lift behind.

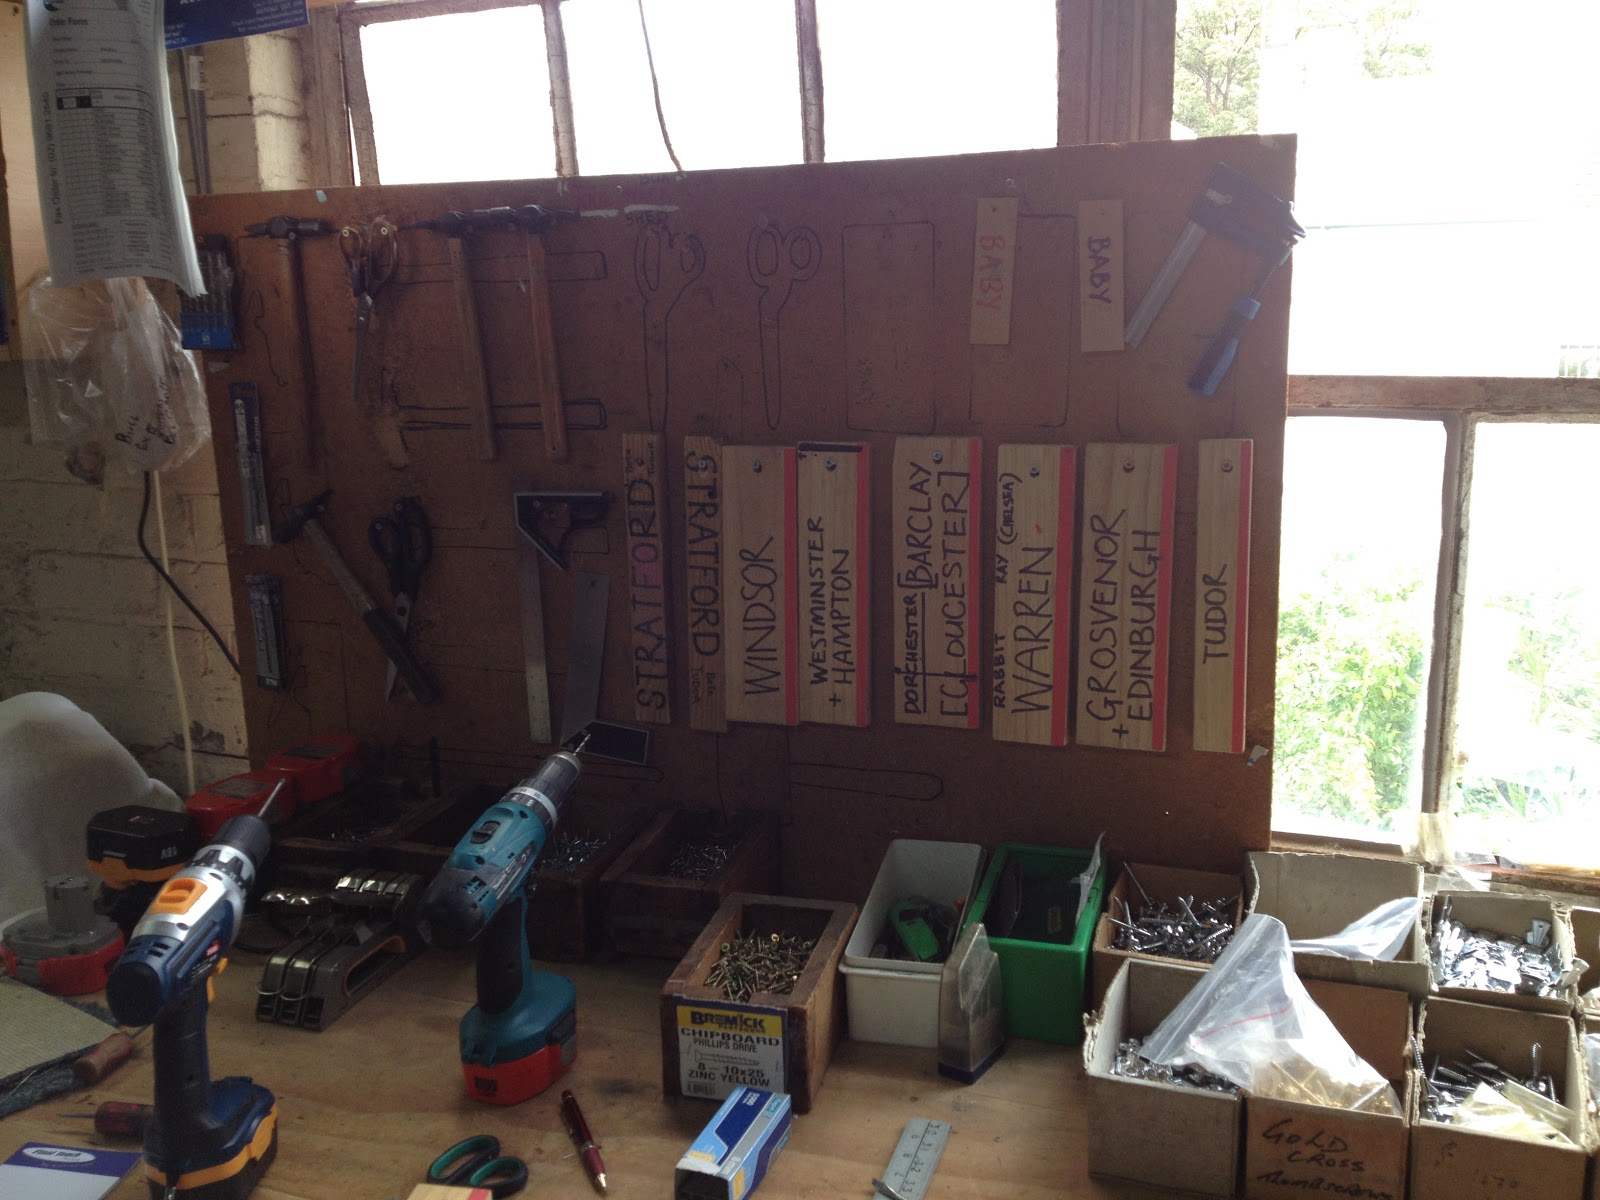
Workbench, where we keep all the tools, screws and other useful stuff.

The lift we use to take coffins up or down.

~~